
How I made a babywearing demo doll
Originally posted on my personal blog DECEMBER 18, 2013
I wanted to make a demo doll to use at our babywearing sling-meets as it is by far safer for teaching and learning to use than a real baby. However, finding a tutorial on how to go about it wasn't the simple Google search I expected it to be! Eventually, I managed to piece together the process from various instructions I found (some quite vague!), so I thought I would try to pay-it-forward to the next person searching and create the tutorial I would have liked to find!!!
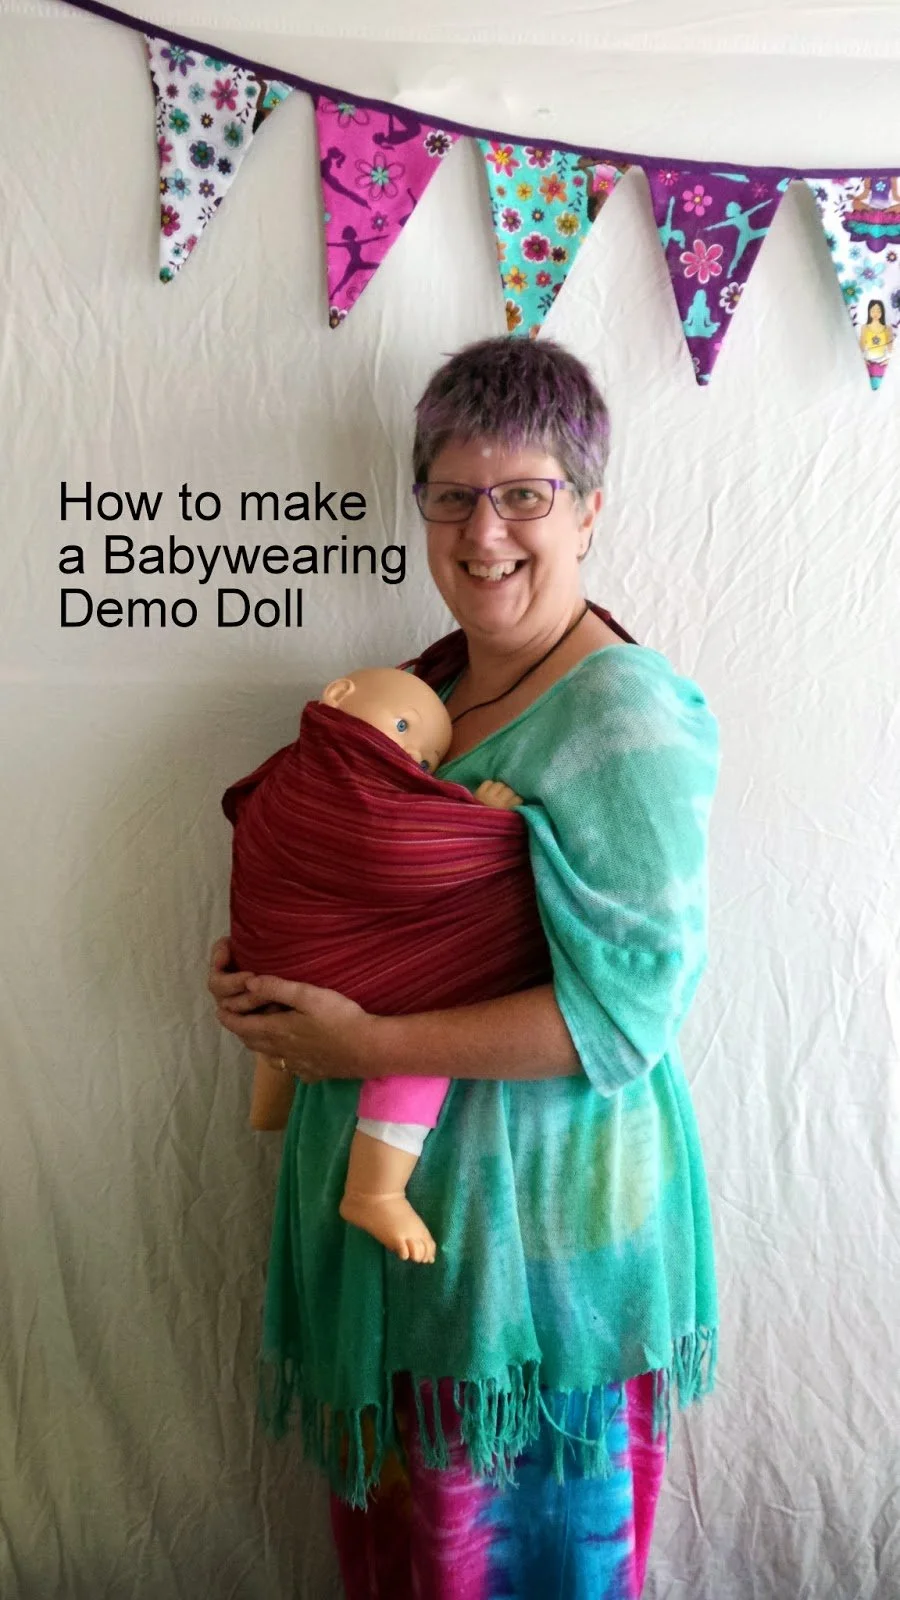
I "met" my first weighted baby at a meet a couple of weeks ago and was staggered by how heavy she was (granted, I didn't know she had arrived and she had identical siblings their, non-weighted, who I thought I was quickly grabbing!!) and learned that they do seem much heavier than a baby of equivalent weight - because they have no muscle-tone, they are a dead-weight! So even though the doll is roughly half the weight of my 8.6kg granddaughter, it seems heavier to hold! Once you put them into a carrier though, the weight is supported and feels like the 4kg baby it replicates. It's the same science that explains why your sleeping 2yo feels so much heavier to carry!
What you need:
A toy baby doll - I got mine from Kmart for $15. As it is almost Christmas, they were in abundance. It is classed as a "Newborn doll" but I hope you never have to birth a baby that size and length!
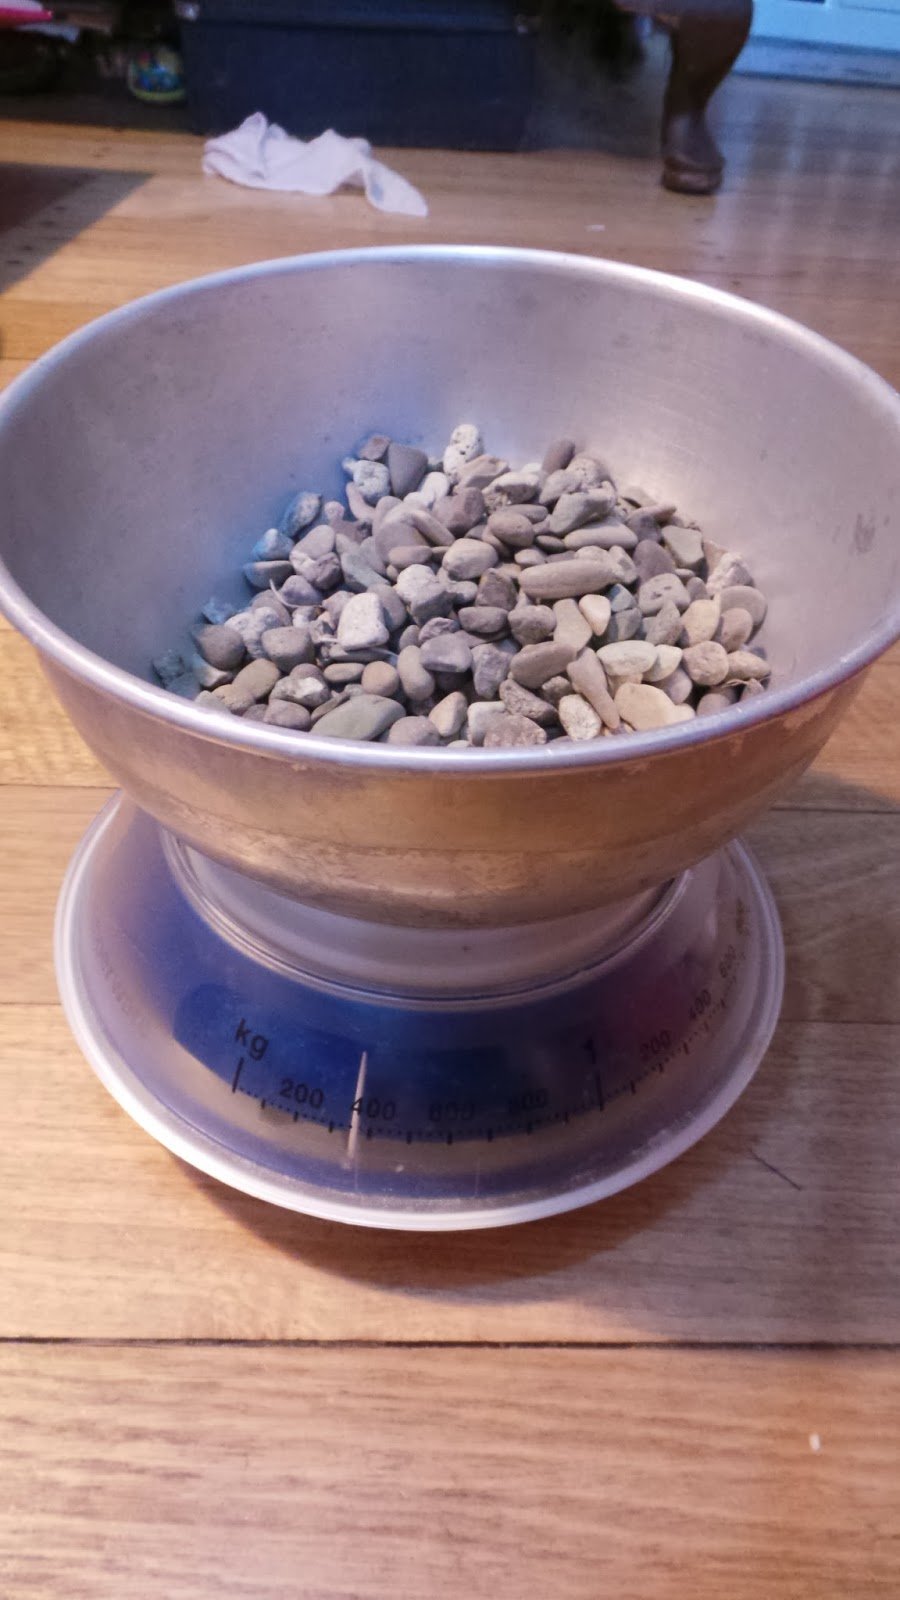
A pack of aquarium stones/gravel - I bought mine at the garden centre, a 5kg pack was $10.95
Tools:
A seam ripper or scissors
Kitchen scales
A needle and strong thread
Stockings or fabric to create pouches to hold the weights: I used some stuff that was packaging from shelves bought at Ikea, which I knew would come in handy! Almost anything will do
How long will it take:
You will need about an hour to complete the project. I suggest you do so without sensitive small children around - or adventurous older children who might follow your lead with said sensitive child's favourite doll!!
(I also recommend NOT listening to Rod Stewart's Christmas album in the background - there is something quite disconcerting about hearing Silent Night while pouring stones into a baby's head! Just saying!)
Step One:
Using your seam ripper or small scissors, undo the seam between the doll's legs.
Step Two:
Pull out all the stuffing from the doll!!!!


Step Three:
Measure out enough gravel to bring the head of the doll to a weight of 350gms. I did this by first popping the head on the scales and adjusting it back to zero, then adding stones til it weighed enough. I don't think this is critical!!!
Step Four:
Pour the stones into the head! You could use a funnel but I couldn't find mine - wasn't a drama

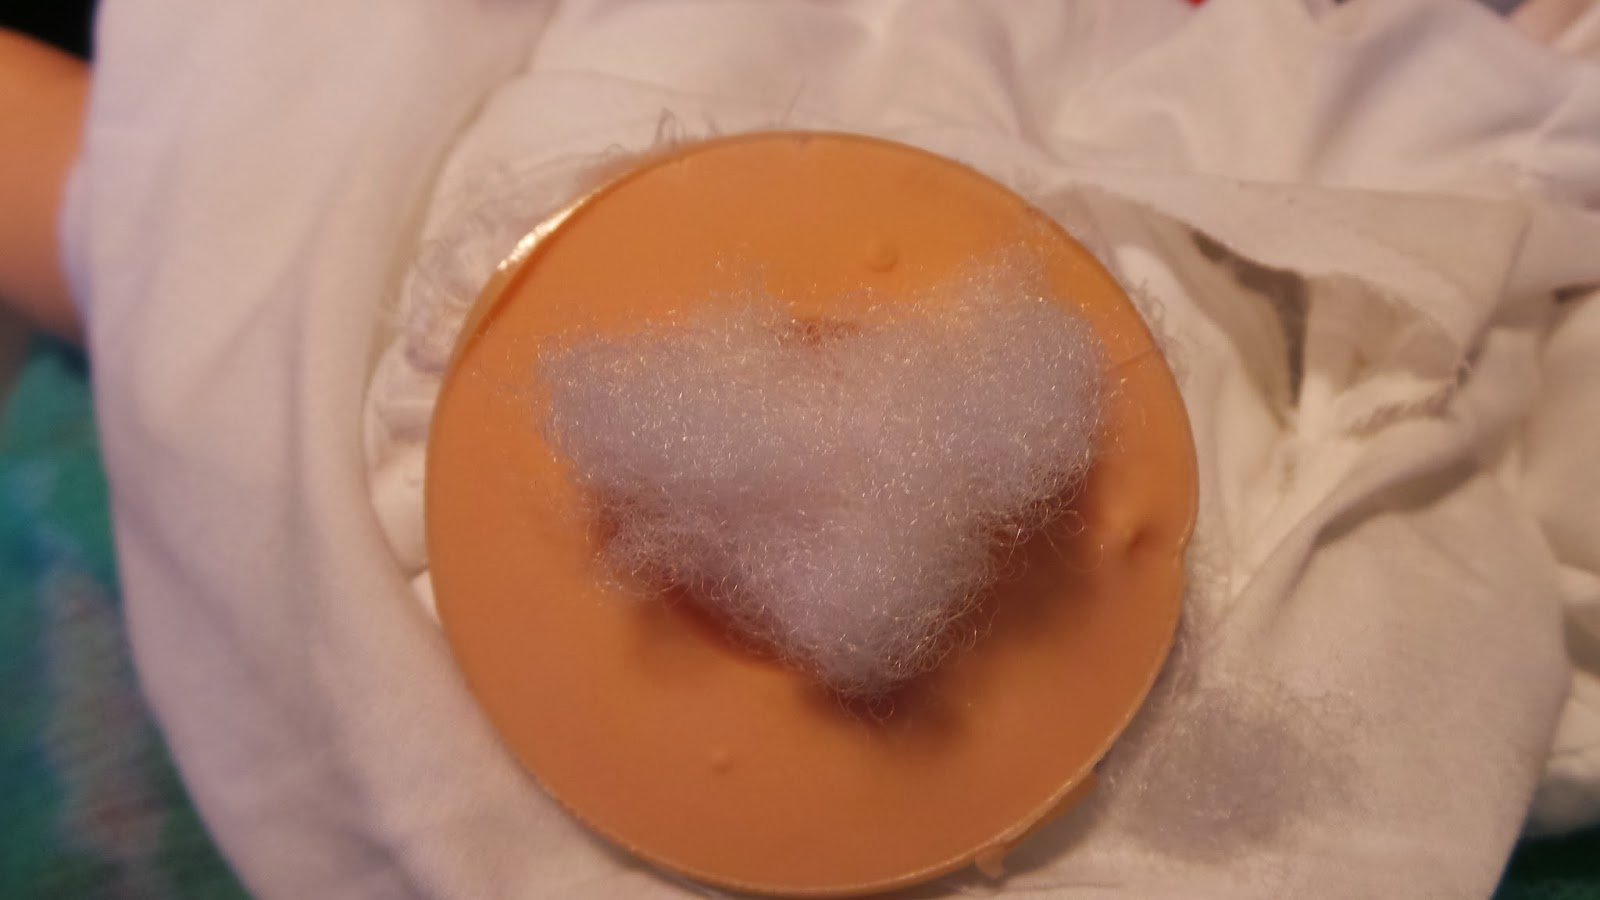
Step five:
Stuff filling into the head to stop the stones coming out.
Step Six:
Prepare the pouches. I thought about sewing these and then decided I couldn't see why I should and tied them in bundles instead.
Roughly cut fabric into size

Line the bowl with the fabric

Add the weight of stones for that pouch

Tie knot A

Tie knot B
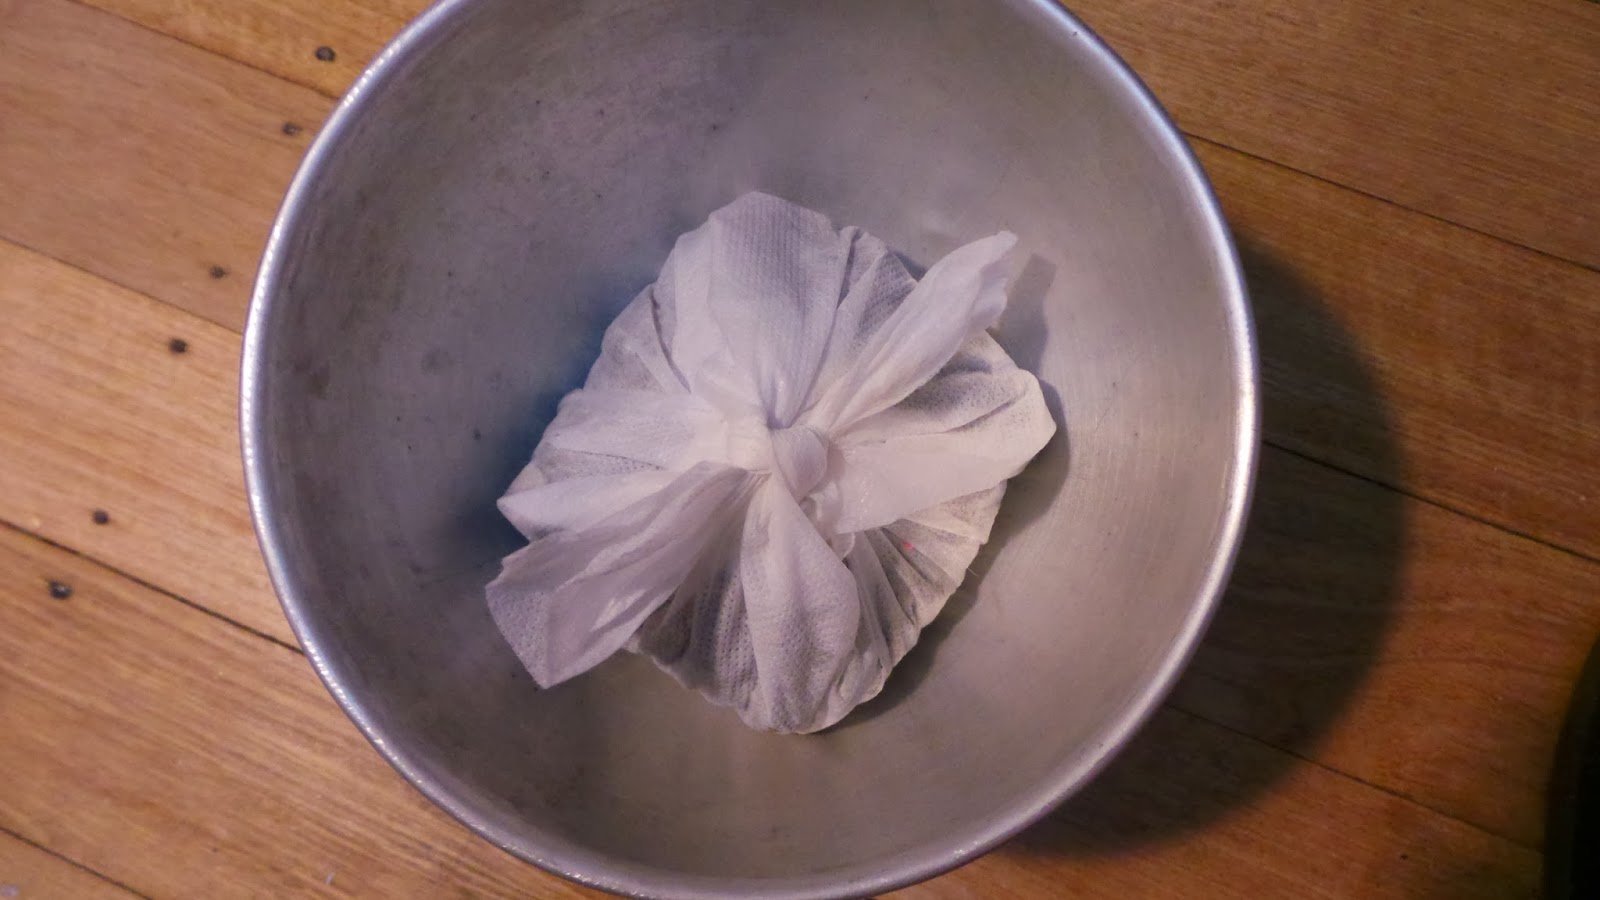
I made four pouches at 250gms for the arms and legs and two at 500gms for the torso
Step Seven:
Working one at a time, push each limb pouch into place and add stuffing around and over it.

Step Eight:
Fill the upper chest and shoulders but make sure the unsupported head can still sag when you hold it upright.

Step Nine:
Add the chest body pouch and stuff around it.

Step ten:
Add the last pouch in the area of the doll's bum and stuff around it.Keep stuffing until there is none left!


Step Eleven"
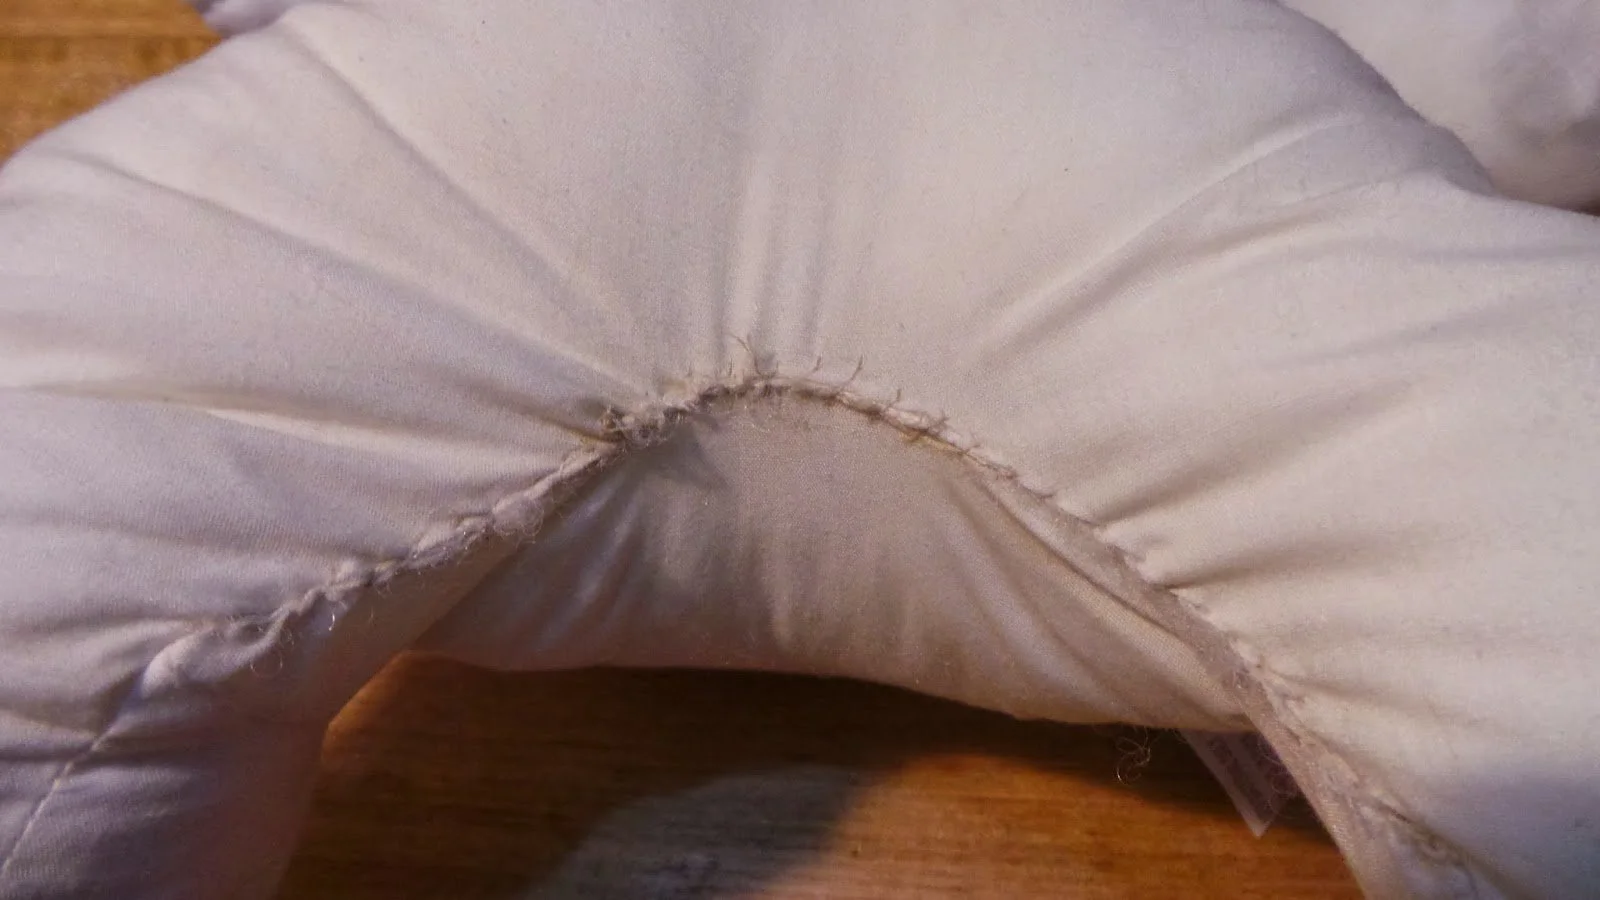
Double-thread your needle (thread and then tie the two ends in one knot) and begin stitching. If your doll has a seam reinforcing strip like mine, incorporate it to add strength. I stitched through mine on each pass.

Thankfully, my caesareans were not DIY!! The thread is blackend from dirt on the stones!!
Step Twelve:
Squish everything into place a bit more until you are happy or bored


The head flops unsupported, with the chin touching the chest. This allows you to show how the airway can be blocked by incorrect wearing. Also useful to demonstrate breastfeeding position!
Step Thirteen:
Dress your doll! Mine still needs a nappy. And a name!!!

This doll is not intended as a toy and obviously those stones could be a choking hazard if a child could get to them. Use and store your demo doll like a responsible adult. (And consider how others who don't know it is a doll will react if they see it shoved in the back of your car!!)